Broken acrylic nails can be both painful and unsightly, but they’re an occasional fact of life. To prevent damage, make every effort to handle your enhanced nails gently and avoid strenuous activities without protection—gloves and tools are your best friends! However, accidents happen. Knowing how to quickly and easily fix a broken nail at home can save you both the time and cost of an emergency salon trip.
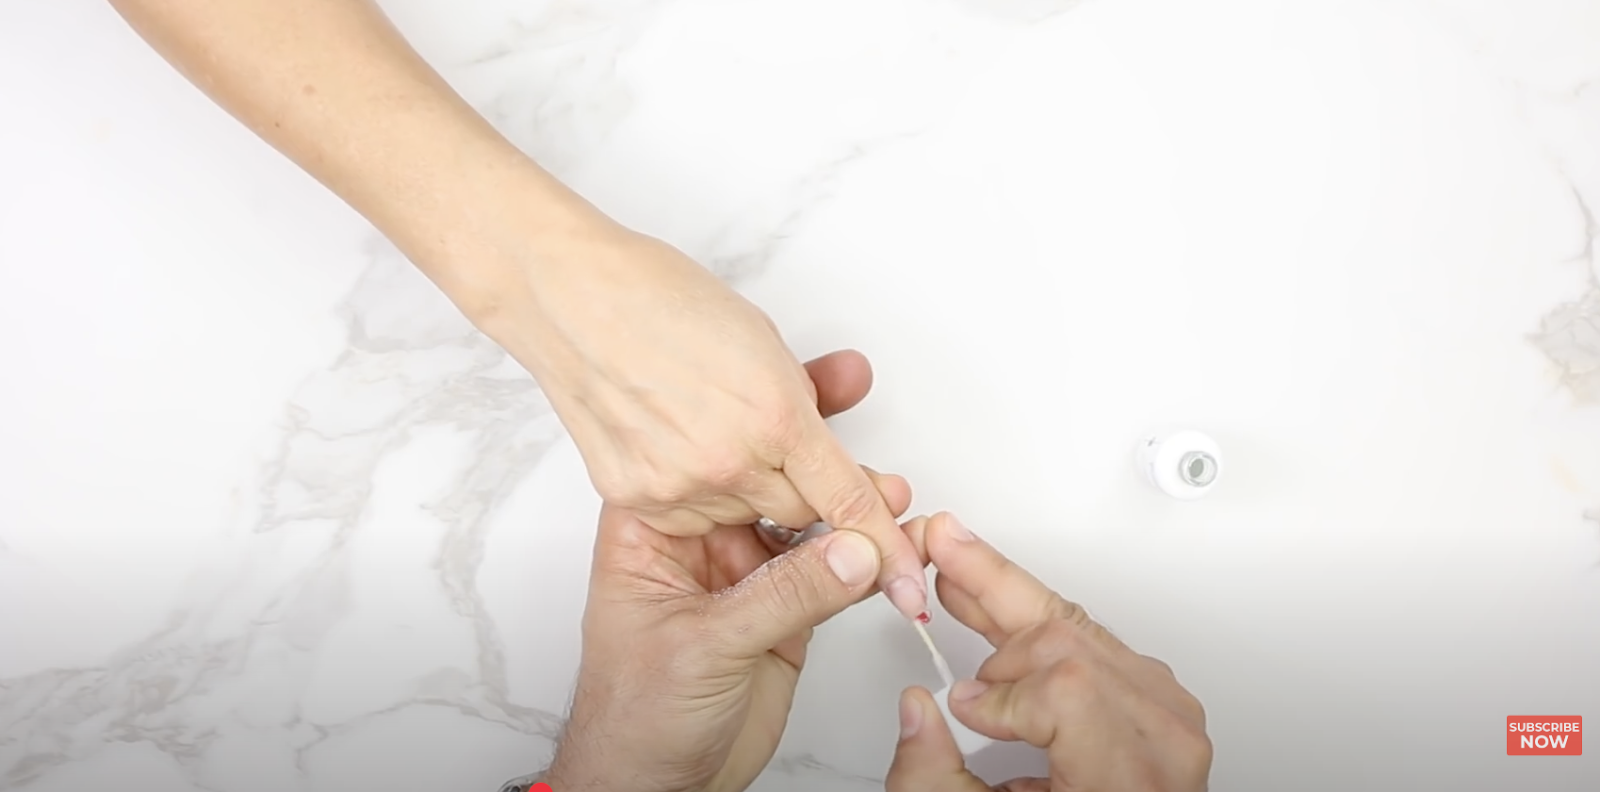
Remove the Polish
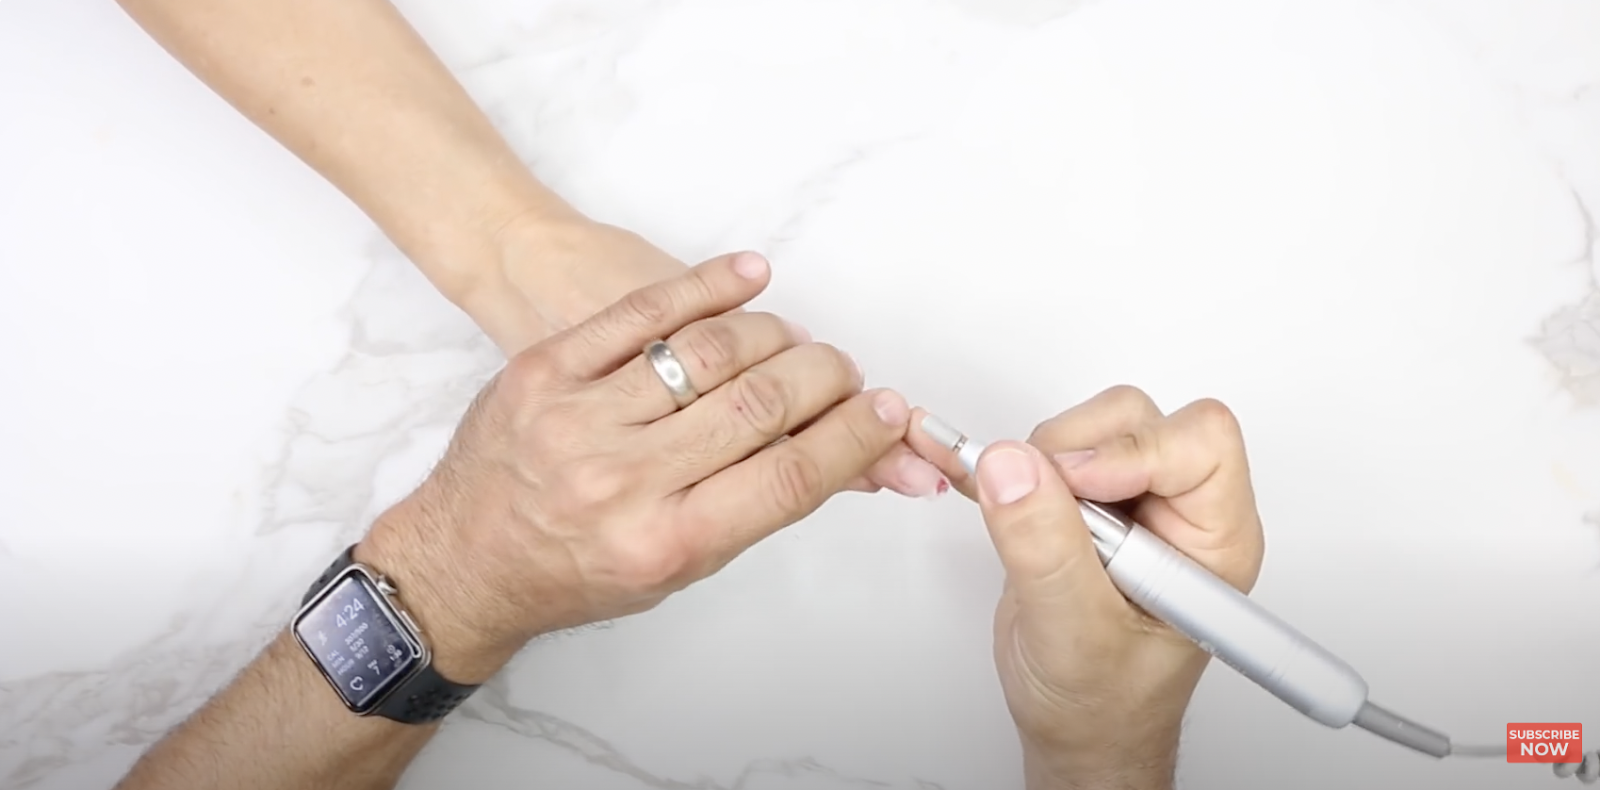
The first step is to remove any polish on the nail—whether it’s traditional nail polish or gel. This allows you to clearly see the crack, break, gouge, or other damage and assess what needs to be done. If it’s gel polish, use an e-file for quick and painless removal. Otherwise,nail polish remover will work just fine on a traditional nail polish. Focus only on the affected nail; there’s no need to remove polish from the others.
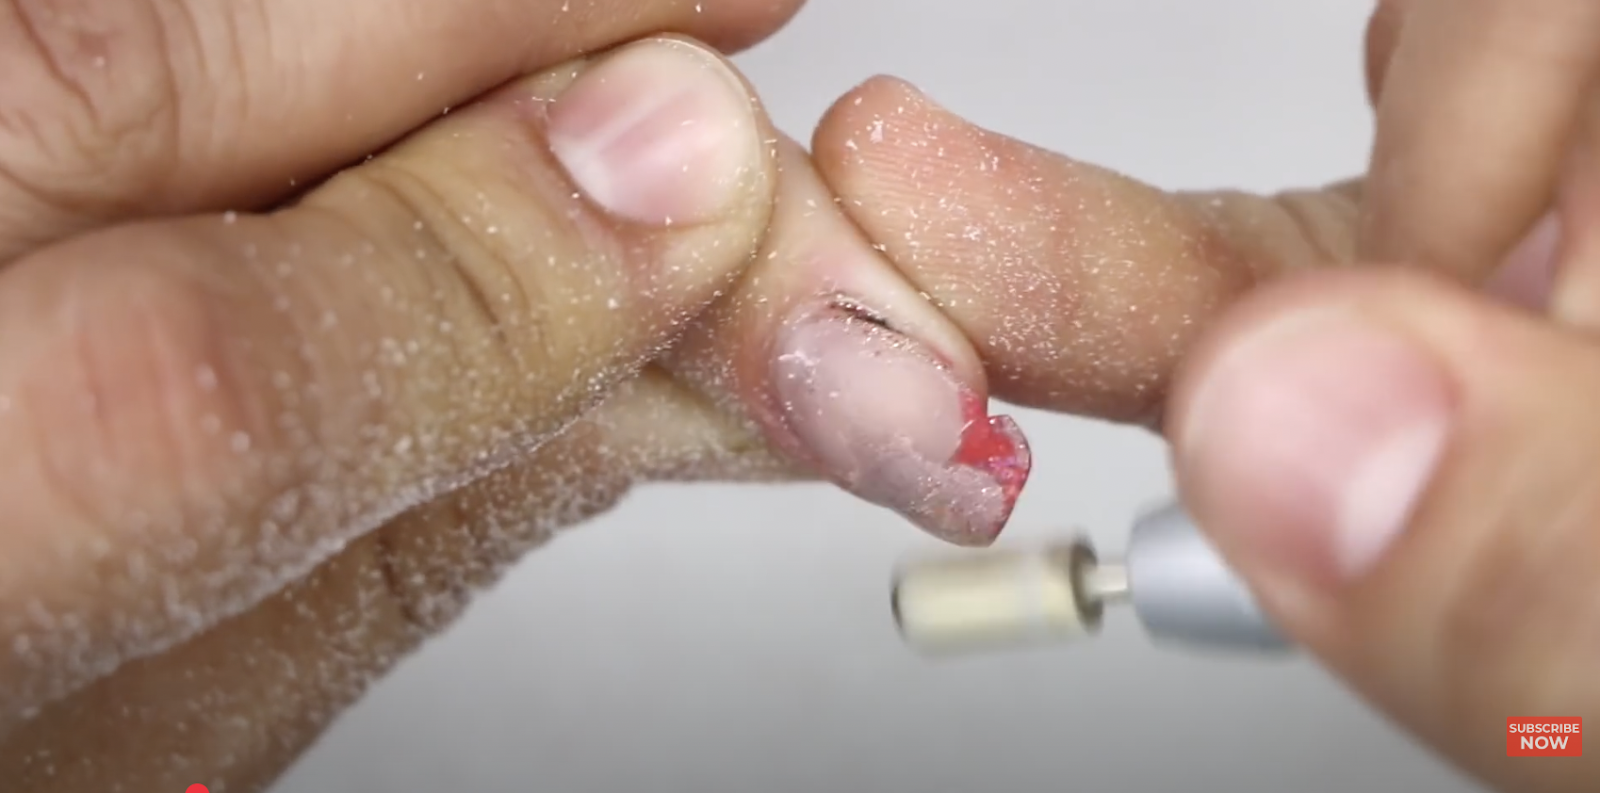
Thin the Area and Prepare for Repair
Using an e-file or a hand file, thin down the damaged area. Gently reduce the acrylic and clean up the nail as much as possible, thinning the entire enhancement slightly. Remember, this is a spot fix—not a complete reconstruction of the enhancement.
Once filed, use Swipeto clean the nail and surrounding area. Next, apply Protein Bond over the edges of the damaged section and the back of the nail. You’re now ready to reshape the nail using a matching color acrylic—more on that in a moment.
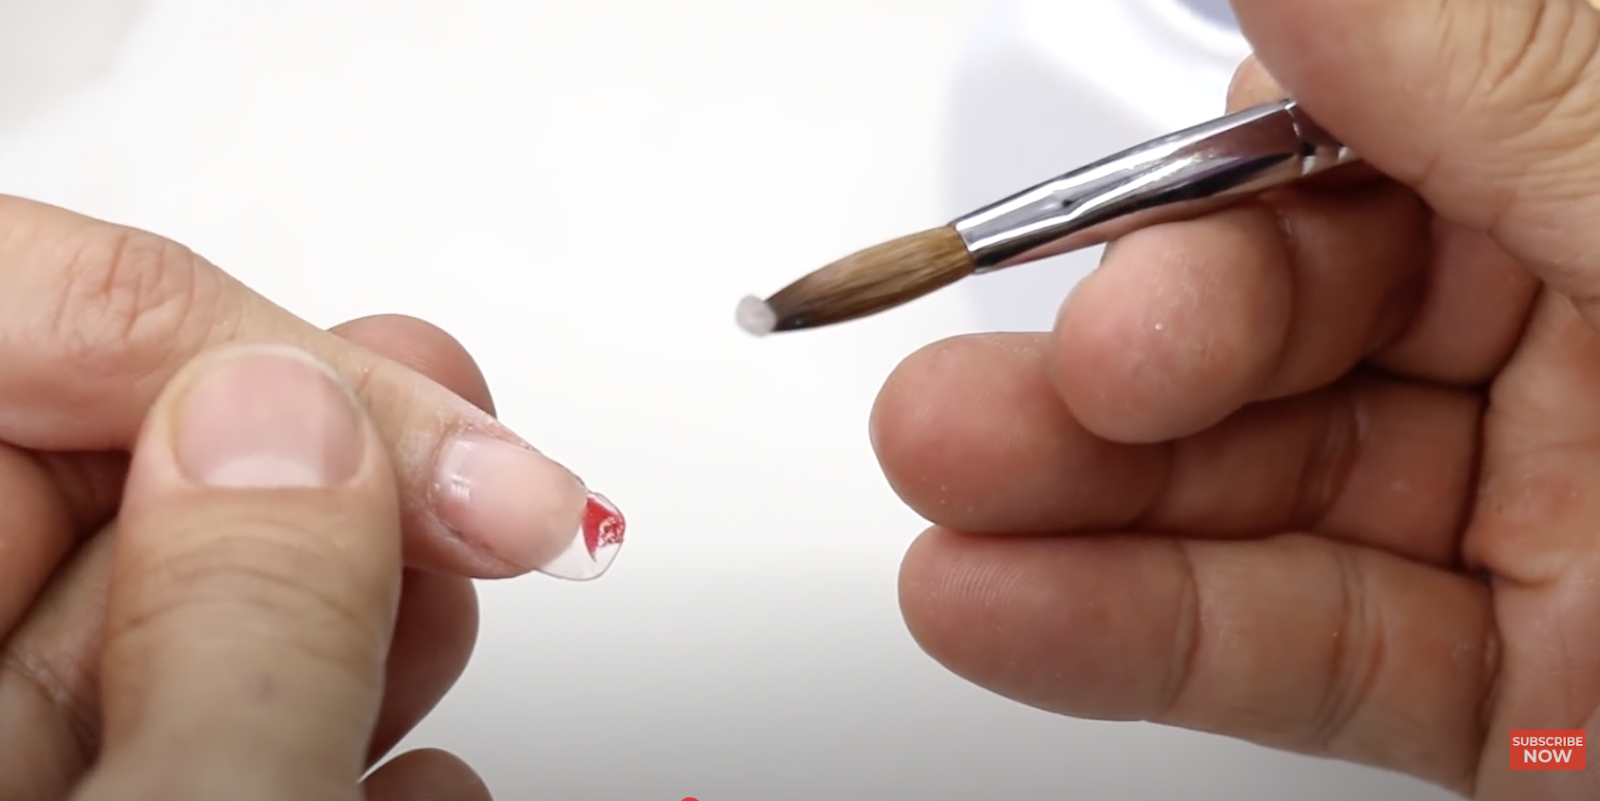
Mend the Nail with Acrylic
Place a bead of acrylic over the broken nail and let it self-level. High-quality acrylic, like thepowder and monomer we sell, will naturally fill the crack as it spreads. Gently press the acrylic as it dries to ensure the edge is filled and reshaped.
The key is to avoid making the acrylic too wet, so it doesn’t run. Use a small, moist amount to fill the back area filed during repair, then lightly brush it across the nail. Drag a thin layer of acrylic over the nail surface to smooth everything out. Voilà! Not only is the damage repaired, but any growth that occurred before the break is also filled in—saving you time and effort.
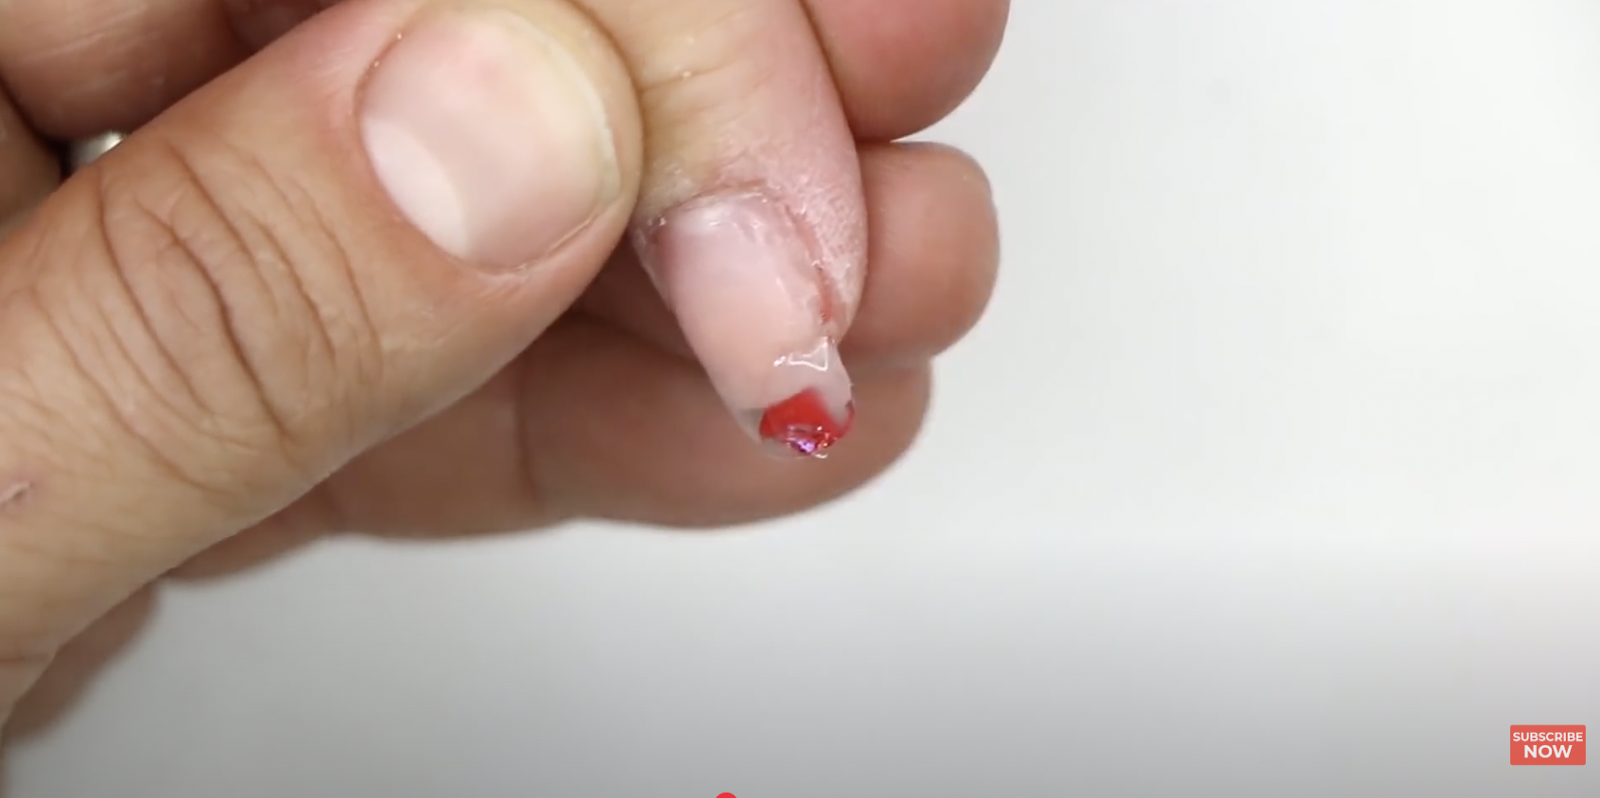
File and Re-Polish
Now for the finishing touches. Use a hand file to straighten the edges and clean up any irregularities along the free edge. Smooth the surface with your e-file for a flawless finish.
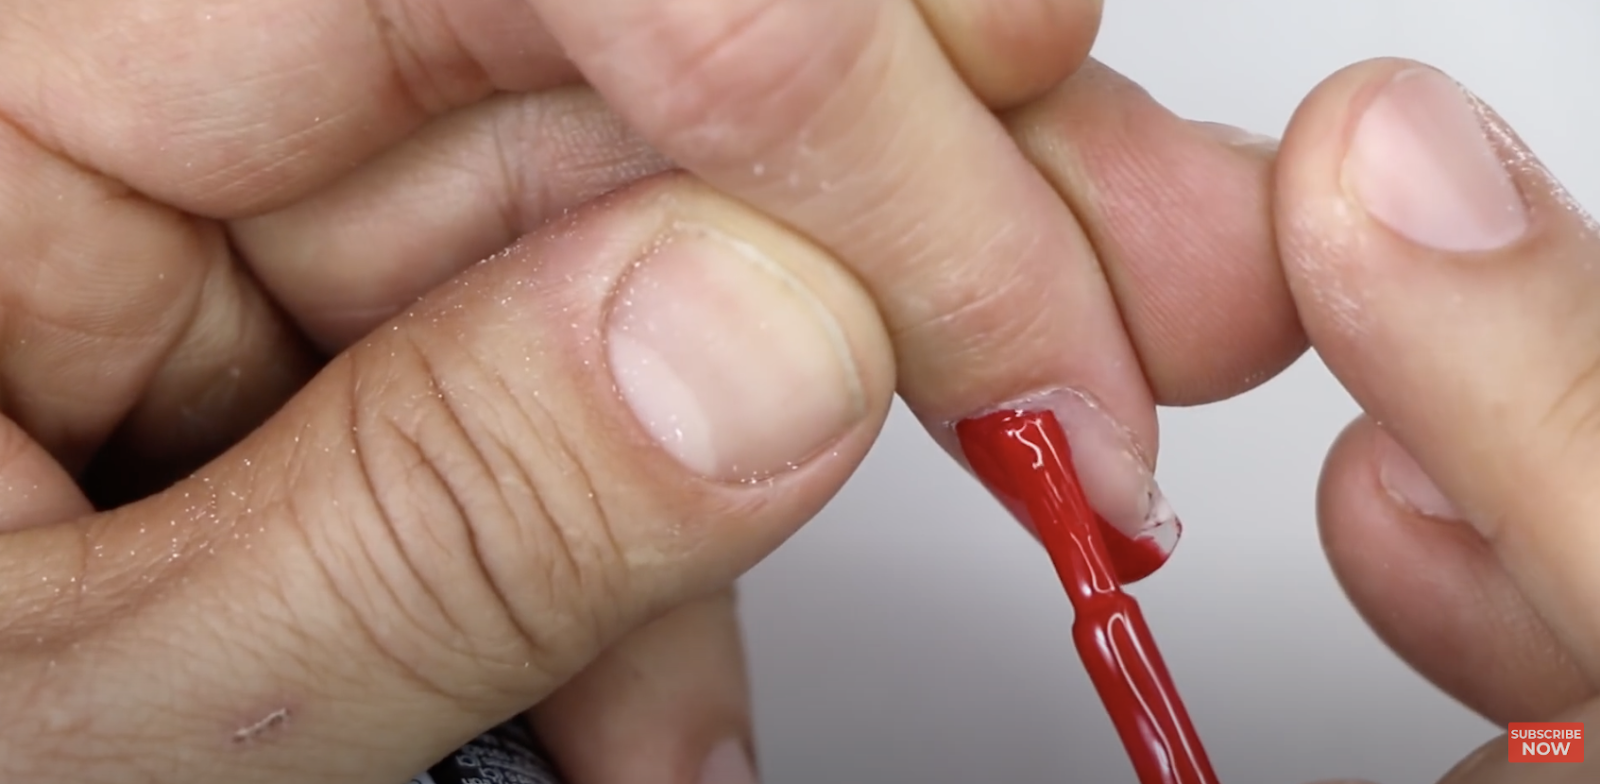
After filing, clean the nail again with Swipe and reapply Protein Bond. Then, use a matching gel polish to repaint the nail. If you can’t perfectly match the original color, consider turning the repaired nail into an accent nail and repainting the corresponding finger to match.
When faced with a broken nail enhancement, you might feel tempted to remove the entire nail and sculpt a new one. However, this takes time and effort you don’t need to expend. Instead, focus on filing out the damaged section and applying just enough acrylic to fix the break. With this approach, you’ll quickly repair your nail and get back to living fabulously. The result will look just as good as new!